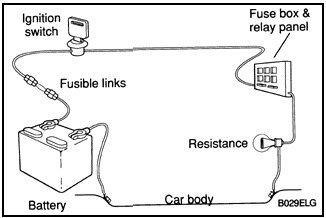
Electrical TestingA great many electrical problems can be understood and solved with only a little fundamental knowledge of how electrical circuits function. Electric current only flows in a complete circuit. To operate, every electrical device in the car requires a complete circuit including a voltage source and a path to ground. The positive (+) side of the battery is the original voltage source, and ground is any return path to the negative (-) side of the battery, whether through the wiring harness or the car body. Except for portions of the charging system, all electrical current in the car is direct current (DC) and flows from positive (+) to negative (-). Switches are used to turn components on or off by completing or interrupting the circuit. A switch is "open" when the circuit is interrupted, and "closed" when the circuit is completed. Fig. 3-5 shows a complete circuit schematically. The first step in tracing an electrical system problem is to check with a test light, a voltmeter, or a multimeter (DC volts scale) to see that voltage is reaching the component. If so, then the circuit is sound as far as that point. If voltage is not reaching the component, that indicates that the circuit is open (interrupted) somewhere between the battery positive (+) terminal and the component. Look for a blown fuse, an open switch, a broken wire, or a failed component earlier in the same circuit. Isolate the location of the problem by doing more voltage measurements at different points in the circuit. Voltage found at any point in the circuit means that the circuit is good at least up to that point. Look for problems after the point in the circuit where voltage is found.
To test for voltage:
Once it is confirmed that voltage is reaching the component, check the remainder of the circuit by testing for continuity to ground. If the component is grounded through its physical mounting, make sure that the contact area is clean, dry, and free of corrosion. To check component ground:
A continuity test, performed with an ohmmeter, is a universal test of any wire, connection, or component which will tell if current can flow through it. It can be used to check wires for breaks, to find out whether switches are open or closed, to find poor connections, and many other things. Continuity is a measure of resistance. A complete circuit has continuity-resistance is nearly zero. An open circuit due to a broken wire or an open switch has infinite resistance-there is no continuity. To test the continuity of any conductor between any two points, connect one ohmmeter probe to each test point. If the path between points is uninterrupted, the ohmmeter should read nearly zero. If it reads significantly above zero, there may be a component in the circuit which is supposed to have some resistance. If not, there may be a poor connection or a damaged wire somewhere between the test points. |