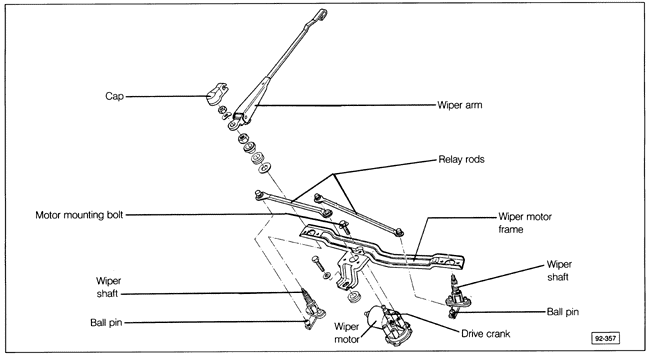
Removing and Installing Windshield Wiper MotorFig. 8-3 is an exploded view of the windshield wiper motor, the wiper motor frame, and the linkage. The wiper motor frame does not need to be removed from the body when removing the motor or linkage. The drive crank should not be removed unless the motor is being replaced. Disconnect the battery negative (-) terminal and carefully remove the plastic drip tray by unclipping it and pulling it straight up. Disconnect the harness connector from the wiper motor. Disengage the relay rods from the ball pin on the motor's drive crank, then remove the motor mounting bolts and remove the motor from beneath the frame.
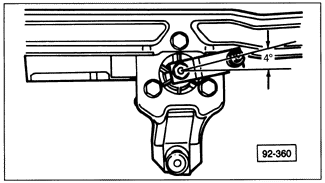
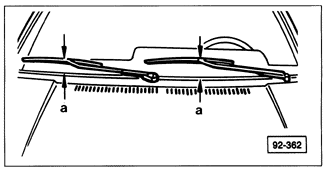
Installation is the reverse of removal. Completely install the motor and connect the battery, but do not connect the relay rods. Turn on the ignition and the wiper switch to run the motor for approximately one minute, then turn off the wiper switch. The motor will stop in its park position. If installing a new motor, transfer the drive crank from the old motor to the new one in the position shown in Fig. 8-4. Lubricate the ball pins with multipurpose grease and install the relay rods. Check wiper arm position as shown in Fig. 8-5.
|