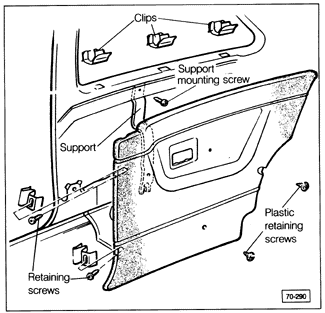
Interior TrimFig. 5-1 shows the front-door interior trim. Fig. 5-2 shows the rear interior trim on two-door models. Although the trim removal procedures below apply to front doors, they can be used as a general guide when removing the interior trim from the rear doors on 4-door models.
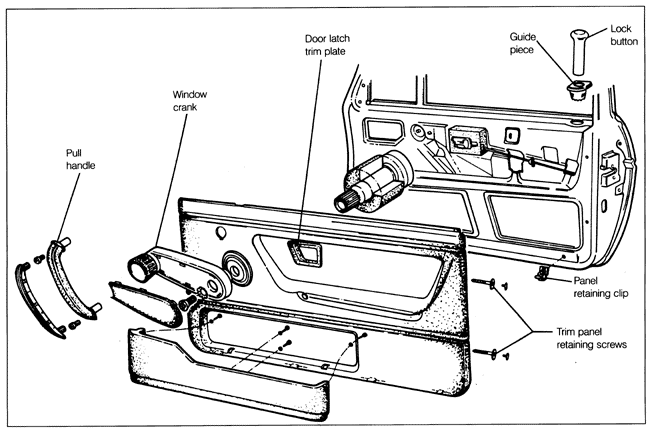
To remove the door trim panel, unscrew the lock button and pry out the plastic guide piece. Pry out the trim plate for the operating lever. Pry the trim piece from the pull handle and remove the screws and the handle. Pry the trim piece from the window crank and remove the screw and the handle. The trim panel is held to the door by spring clips at the bottom, and screws at the sides. Carefully remove the interior plastic protective liner without tearing it. Installation is the reverse of removal. Make sure that the liner is installed without gaps. Apply thread locking compound to the window crank handle screw. |